Welcome to the part 4 of Android wear application development series.
This series so far:
- Part 1: Android Wear: Installation and Setup, where we discussed about what is Android Wear and some of the usages, installed Android 4.4W SDK and look into creating Android Wear virtual device.
- Part 2: Android Wear: Hello World, where we wrote a Hello world program and run it successfully. We had also discussed about WatchViewStub and how it detects whether device is round or circle.
- Part 3: Set up wear emulator, where we talked about setting up wear emulator and pairing it with phone or tablet. We also saw some of the cards like hangout chat notification.
In this part
In last, we talked about pairing android wear with phone and also saw some of the phone notifications popped up in a wear as cards. Today, we are going to talk about how to build an application with such notifications, which are wear compatible.
Creating a simple Notification
It’s almost the code/classes for creating a notification for phone/tablet but here we would be using support library to provide a compatibility. We would be using 2 support library classes:
- NotificationCompat.Builder, it allows to construct notification layouts
- NotificationManagerCompat, it helps to notify or cancel (or cancel all) notifications.
When we build notification NotificationCompat.Builder class, it takes care of displaying notifications, whether it appears on mobile or wearable.
Steps to create a simple notification
Follow below steps to create a simple notification demo for android wearable devices.
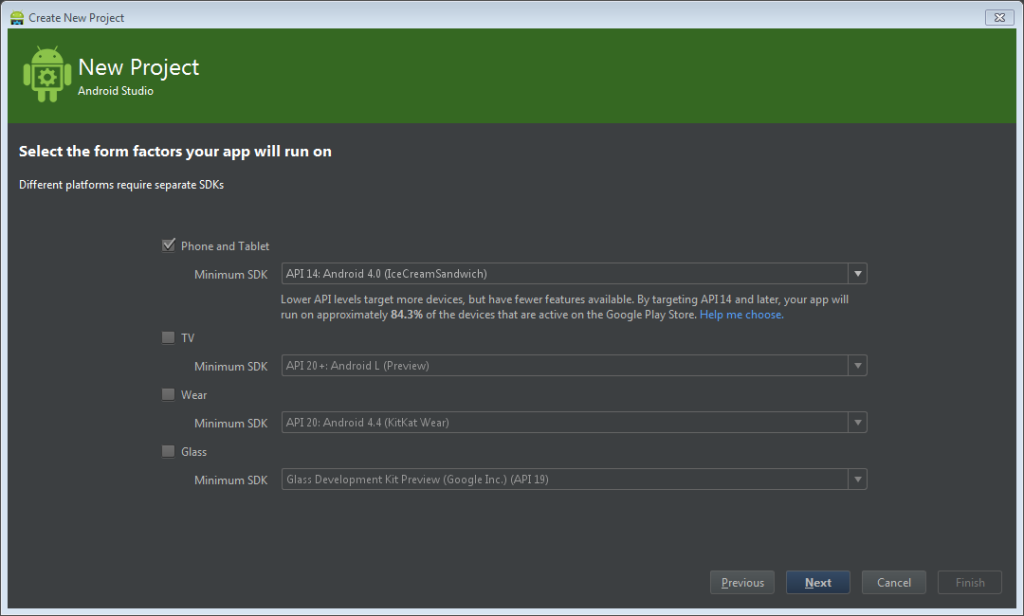
- Step 1: Create a new project for “Phone and Tablet”.
- Step 2: Include support library into build.gradle file, it would help us to access required classes from support library.
compile 'com.android.support:support-v4:20.0.+'
- Step 3: Import appropriate classes from support library
import android.support.v4.app.NotificationCompat;
import android.support.v4.app.NotificationManagerCompat;
- Step 4: Take a button inside xml layout (with android:onClick=”btnShowNotificationClick”) and write a button click event with below code:
public void btnShowNotificationClick(View v){ int notificationId = 101; // Build intent for notification content Intent viewIntent = new Intent(this, SecondActivity.class); PendingIntent viewPendingIntent = PendingIntent.getActivity(this, 0, viewIntent, 0); //Building notification layout NotificationCompat.Builder notificationBuilder = new NotificationCompat.Builder(this) .setSmallIcon(R.drawable.ic_launcher) .setContentTitle("Demo") .setContentText("It's demo of simple notification") .setContentIntent(viewPendingIntent); // instance of the NotificationManager service NotificationManagerCompat notificationManager = NotificationManagerCompat.from(this); // Build the notification and notify it using notification manager. notificationManager.notify(notificationId, notificationBuilder.build()); } - Step 5: Launch a wearable emulator, which we have already created during 1st step (i.e. Installation and Setup) and wait until home screen appears.
- Step 6: Pair your watch with handheld device (Follow part 3) and wait until Android wear emulator is connected with phone/tablet. To confirm, check ‘Connected’ status in Android wear application.
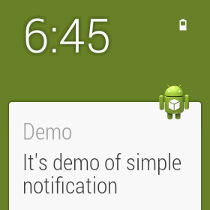
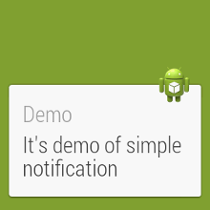
- Step 7: Now, clicking on button it will show you notification on your mobile device as well as on wearable device. If you swipe out notification from wearable, notification will be dismissed from the mobile and vice versa.
Add Action buttons
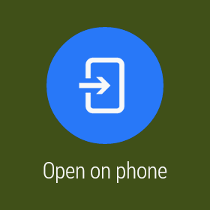
As you see “Open on phone” action button, we can also add our own custom action buttons. To add action button, we just has to define action by using addAction() method.
When this notification gets displayed, it appears as an additional button attached to a notification where as it appears as a large button. The fun part is when you taps the action on wearable, it invokes the associated action onto the mobile, a simple example could be opening a browser with link.
public PendingIntent getPendingIntent(){
    // Build an intent for an action to open a url
   Intent urlIntent = new Intent(Intent.ACTION_VIEW);
   Uri uri = Uri.parse("http://www.google.com");
   mapIntent.setData(uri);
   PendingIntent urlPendingIntent =
                PendingIntent.getActivity(this, 0, urlIntent, 0);

   return urlPendingIntent;
}
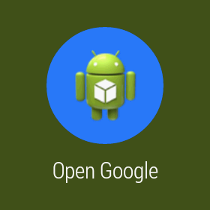
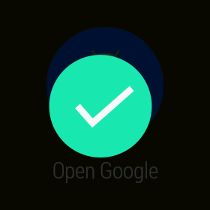
Now, let’s add this pending intent into NotificationCompat.Builder by using addAction() method:
.addAction(R.drawable.ic_launcher, "Open Google", getPendingIntent())
Summary
In this part, we talked about creating simple notifications and adding actions into it. We would be looking into creating custom layouts in future parts. We would also be looking into how to stacking notifications and adding pages into notifications. I am sure you enjoyed this part. See you in next part!