Welcome to the part 3 of Android wear application development series.
This series so far:
- Part 1: Android Wear: Installation and Setup, where we discussed about what is Android Wear and some of the usages, installed Android 4.4W SDK and look into creating Android Wear virtual device.
- Part 2: Android Wear: Hello World, where we wrote a Hello world program and run it successfully. We had also discussed about WatchViewStub and how it detects whether device is round or circle.
In this part
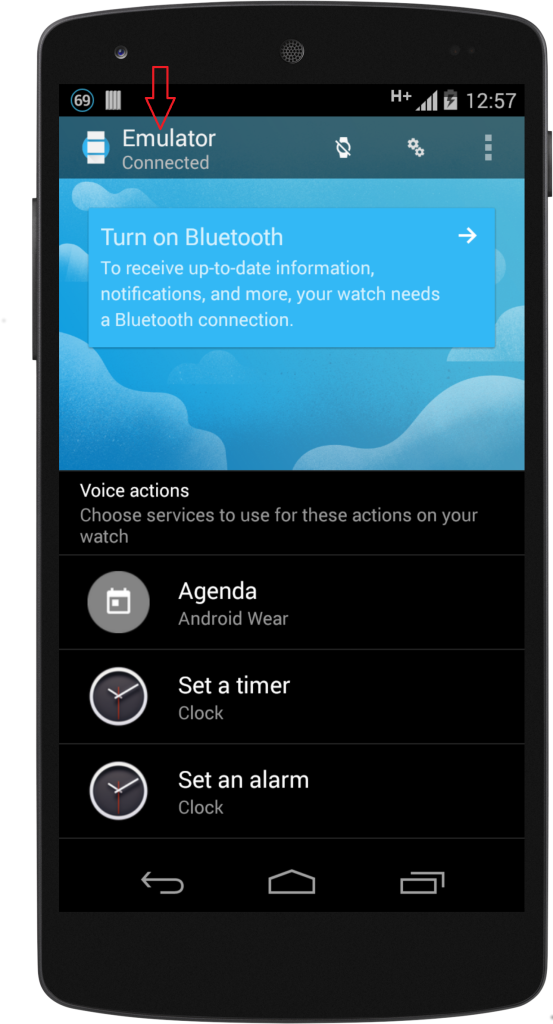
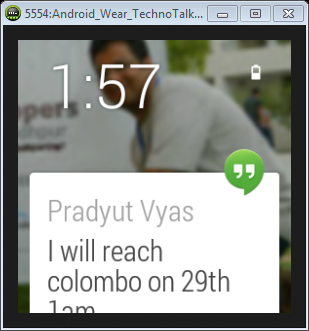
So far we are done with installation, setup and a simple hello world program. Today we are going to talk about how to set up wear emulator and pair it with phone/tablet device. It’s gonna be a fun for sure as you would be getting your phone notifications on your wearable device as cards.
Set up and pair Android wear emulator
- Step 1: On your phone/tablet, install Android Wear app from play store.
- Step 2: Connect the phone/tablet to your laptop through USB cable.
- Step 3: Start Android watch emulator as mentioned in Part 1 – Installation & Setup, and wait until home screen appears.
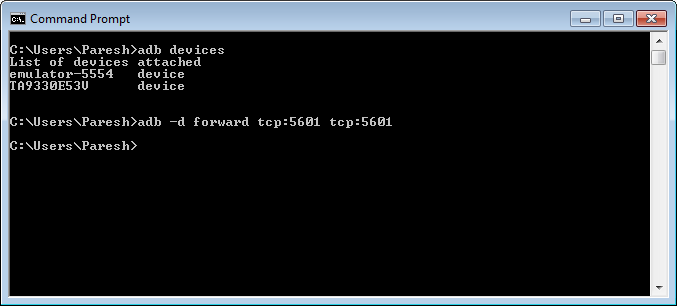
- Step 4: Open command prompt and run ‘adb devices‘ command, and make sure it shows emulator and phone/tablet in a connected devices list.
- Step 5: Now, Run the below command to forward AVD’s communication port to your phone/tablet. Do this practice every time you connect your phone/tablet.
adb -d forward tcp:5601 tcp:5601
Summary
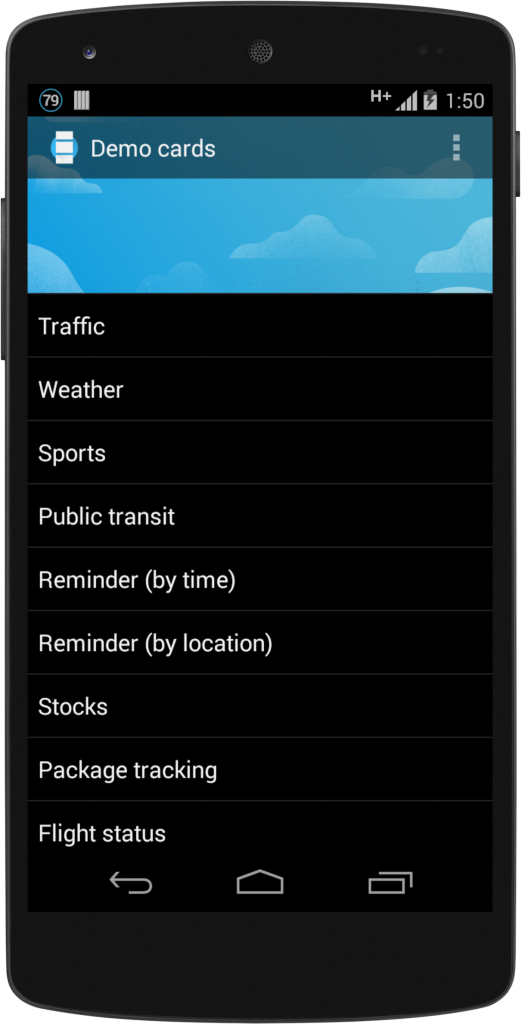
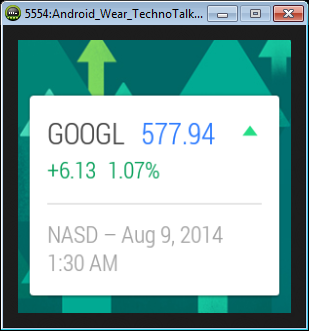
In this part, we talked about setting up wear emulator and pairing it with phone or tablet, have seen some of the demo cards and also demo of Google now cards. In next part, we will see how notifications works in android wear and will develop a basic demo. Till the next part, keep playing with demo cards and try to get Google now cards into android wear.

